This post provides a simple overview of the options available on the left sidebar of JourneyCARE. Keep in mind that your organization may not be using all of these features or you may not have the permissions to use certain sections, so some of what is described below may not be visible for you.
The left sidebar contains a menu list of all the available sections. This menu provides easy navigation to access different sections and features within the platform. It acts as a centralized hub for accessing and managing various aspects of your platform's functionalities.
Navigation
On the left side, you will find the main view, which currently displays your dashboard. The dashboard provides general reports for your contacts, pipelines, and other relevant information. It serves as a centralized hub for accessing important insights and data related to your business activities. Below is the CRM view.
If you have multiple accounts on your platform, you can switch between them by clicking on the drop-down menu. This menu allows you to select and switch to a different account within the platform.
Below the drop-down menu, you'll find the search bar. You can enter a contact's name in the search bar to quickly access their details. This feature allows you to efficiently find and manage specific contacts within your platform. In addition to accessing contact details, you can also use the search bar to add opportunities or view payment information related to the selected contact.
Quick Actions
Next, you'll find the Quick Actions section. It provides you with simple and easy-to-use options to perform common tasks quickly. You can use Quick Actions to add a new contact, create an appointment, send a review request, or create an opportunity with just a few clicks. It offers a convenient way to initiate these actions without navigating through multiple menus or pages.
Conversations
When you access the Conversations view, you'll find a unified communications center that includes all your communication with contacts. This includes emails, SMS conversations, and other communication attempts. It serves as a centralized hub for managing and keeping track of all your interactions with contacts.
There are tabs at the top of the Conversations:
- Manual Actions - You can set up manual actions like manual calls. These actions will be listed as pending tasks and need to be completed one by one. After finishing one task, the next one will be automatically triggered.
- Templates - This feature allows allow you to create email and SMS templates for your automation campaigns. These templates can be used repeatedly, saving you time and ensuring consistent messaging.
- Trigger Links – These are custom links that you can preload in your campaigns. When someone clicks on these links, they trigger a specific action. They provide a convenient way to automate actions based on user interaction.
Go to “Conversations” from the side bar menu and you can find the Manual Actions, Templates, Trigger Links tabs on the upper left corner of the main view.
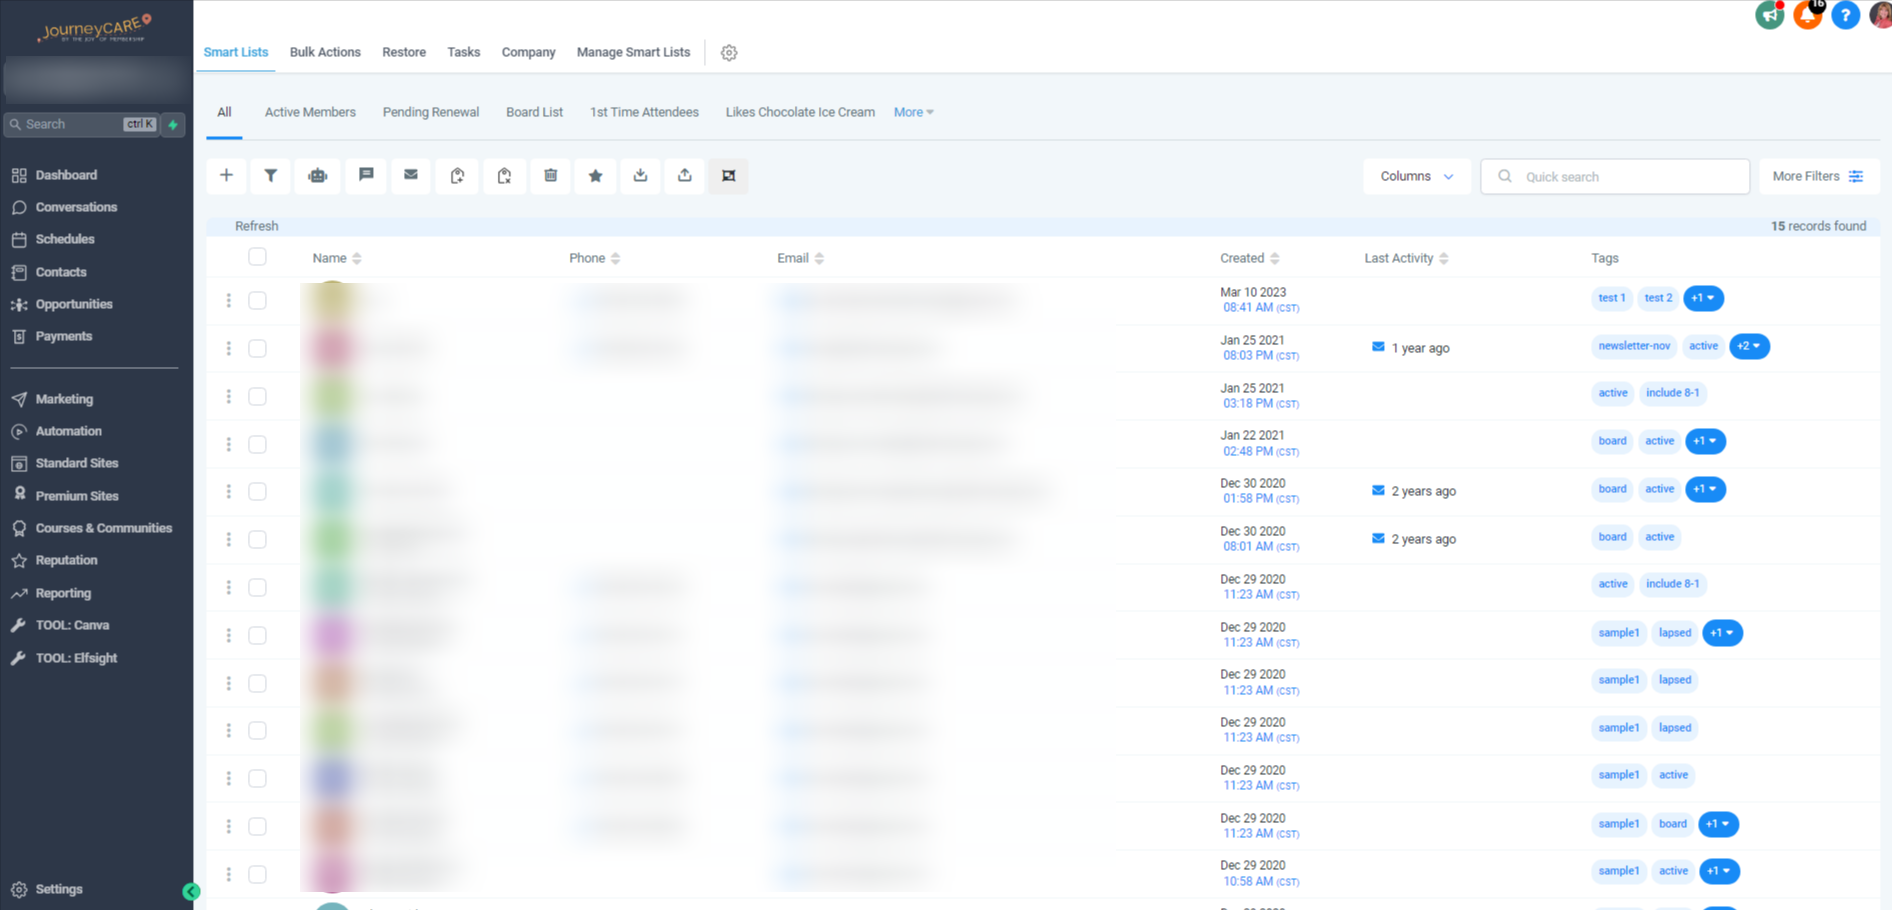
Contacts
In the Contacts section, you can store and manage all your contacts in the platform. You can add new contacts in various ways, such as importing a bulk list or using marketing forms. This section plays a crucial role in efficiently managing your contacts.
The Contacts tabs are:
- Contact Request - Provides an overview of the contacts you have imported into the system. It allows you to review and potentially revert any imports if any mistakes were made during the process.
- Bulk Actions - Allows you to quickly add your campaigns to a large group of contacts, saving you time and effort.
- Restore - Allows you to recover deleted contacts.
- Manage Smart Lists – This enables you to create dynamic lists based on the data in your contacts. You can apply filters and save your rules for future use. It simplifies organizing and segmenting your contacts based on specific criteria.
To find the Contact Requests, Bulk Actions, Restore, Manage Smart Lists tab, go to “Contacts” on the side bar menu and you’ll see them on the upper left of the main menu.
Payments
This is NOT the E-Commerce solution. You may not even be using this section. This is used for creation of standalone one-off payment forms associated with funnels and other special needs.
Marketing
This is where all your marketing can be done:
- Social Planner – Create and plan your social posts
- Emails – Build and send your email
- Templates - Create email using templates
- Trigger Links
Find the Social Planner, Emails, Templates, and Trigger Links tabs when you go to the sidebar menu and “Marketing”.
Automation
The Automation option allows you to design and automate tasks that were previously handled by campaigns and triggers. It simplifies the process of creating and implementing automated workflows for increased efficiency.
From your side bar menu, go to “Automations” and you’ll find the Workflows, Campaigns and Triggers tab in the main view.
Standard Sites
This is our Legacy Site Builder. If you've had a JourneyCARE account set up since early 2023, you're probably not using this site editor. Your site is likely built in the Premium Site Builder (see next section).
- Websites: For websites built before early 2023
- Blogs: For blogs associated with the original site editor.
- Forms: Build various types of forms to embed in your websites or capture visitor information.
- Surveys: Design surveys to gather more detailed information from your audience.
- Chat Widget: Activate the chat widget and customize its settings to enhance customer interaction.
- Media: This is a shortcut into the Media Library.
- URL Redirects: This is used with the original site editor to automatically redirect one site page to another.
Premium Sites (separate login required)
This is our enhanced Site Editor that allows for creation of dynamic pages and other features. If you've had a JourneyCARE account set up since early 2023, your site is likely using this editor.
Courses & Communities
This is where our learning management system and our new communities feature can be found.
Reporting
This area is going to be most relevant if your organization is running ads. If you're not running ads, some of these subsections may not be visible to you or may only be showing sample data.
- Google Ads
- Facebook Ads
- Attribution Report - How many leads are converted to clients.
- Call Reporting
- Appointment Report - How many appointments are booked, confirmed, canceled, etc.
Email Health
This is a special report that may be activated in your account to show your statistics across all of the emails being sent by your account. Here, you can easily see if you have any deliverability issues starting to creep in.
Tool: Canva
This is just a shortcut over to Canva, https://www.canva.com, which is a graphic design software that many of our clients use to create social media posts, email graphics, etc. Canva integration is on our roadmap, so we'll hopefully see a true integration of the functionality in the future!
Tool: Elfsight
This is a shortcut to Elfsight, https://elfsight.com, a no-code software that has widgets that can be added to any website, including JourneyCARE. There are 80+ different widgets to choose from. You'll design what you want the widget to look like on Elfsight and then use a snippet of embed code that they give you to add that widget to your site.
Settings
Finally, at the very bottom of the left menu, you'll find the Settings option. Clicking on it will take you to the main settings area of your platform. Here, you can enable features, set defaults, and explore a wide range of options to customize and configure your platform according to your preferences and requirements. It serves as a central hub for managing various settings and fine-tuning your platform to align with your business needs.