Every workflow has a Settings tab which is important to understand. Below, you'll find a brief description of what each Setting does.
Part 1: Contact

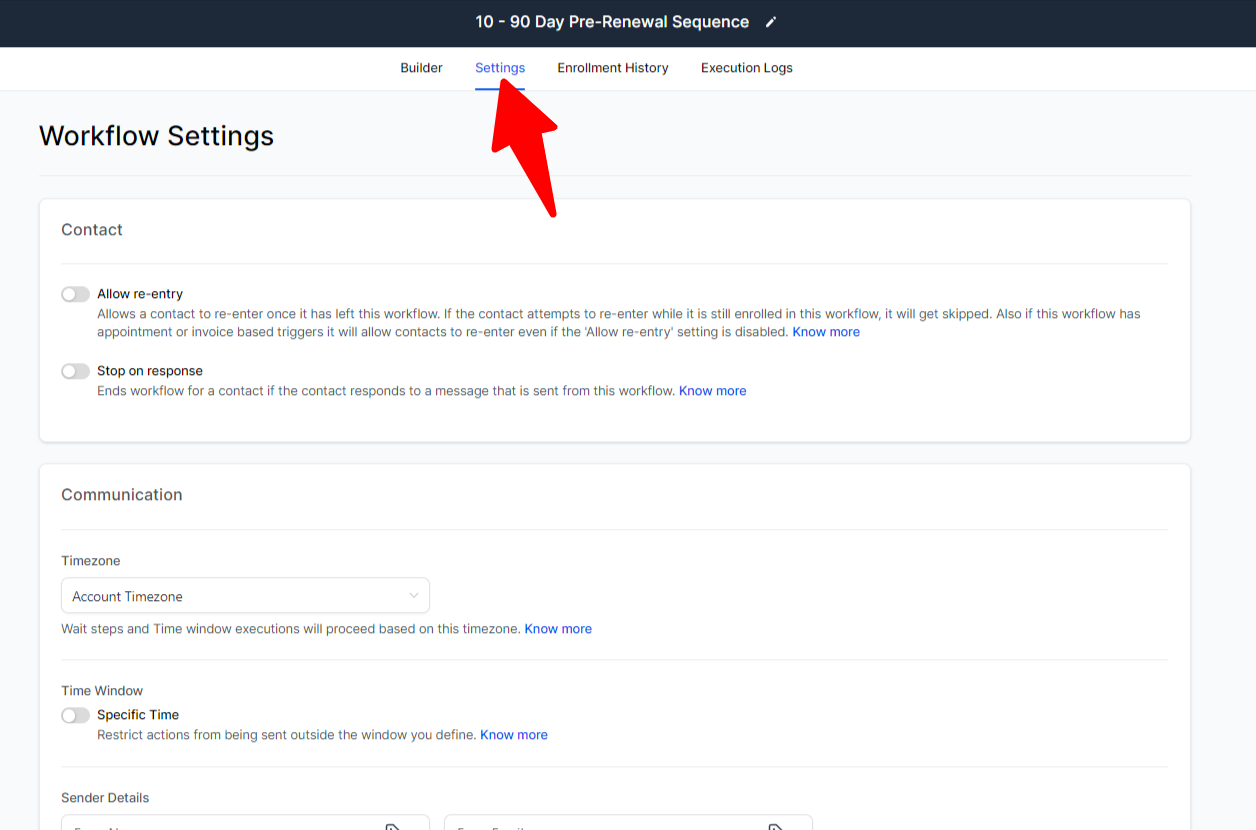
Allow re-entry:
If this is grayed out, that means that a contact can ONLY enter this workflow once. You might use this in a situation like an Onboarding sequence where you only want someone to be welcomed as a new member once and then you wouldn't want them to repeat that ever again.
If this is blue, that means that a contact CAN go through this workflow more than once. For example, you may have a workflow that is triggered by someone filling out your contact form. Someone could fill out your contact form today and then again in the future, so you'd want the workflow to be able to run more than once in this situation.
Will let a contact enter this workflow multiple times if desired this will automatically occur for invoice or appointment-based triggers.
Stop On Response: This feature stops the Workflow from continuing to move through the automation sequence once the lead replies. This is useful if you're doing some sort of nurture sequence for potential members and you don't want to keep sending them the items in this workflow if they respond to you.
Note: Allowing a contact can be implemented temporarily for testing purposes.
Part 2: Communication
Most of the time, you won't need to do anything with these settings, but they are here.
- Timezone: Select account timezone or contact timezone
- Specific Time: Allows you to restrict communication to a particular window defined by you. (For example, only send messages during business hours)
- Sender Details: Sets a default sending email address and name that can be overridden by the email actions in the workflow if desired.
- Mark as Read: Controls whether or not automated messages are automatically marked as read in the conversation.